AWS Domain Management
Another bunch of steps have been taken, I got asked to blog about this for posterity, so here it is.
Transferring a Domain to AWS
It was ridiculously easy to carry out this step. Just follow the steps in the Domain Transfer to Route 53 guide from AWS. This took me all of 5 minutes to complete.
Setting up email is next. AWS offer a number of options, but SES (Simple Email Service) is the cheapest. This is just for a website, not a huge enterprise. This isn’t a $4 a month per user situation to avoid having exchange servers on-prem. All I really need is some means of receiving emails about SSL certs and the like.
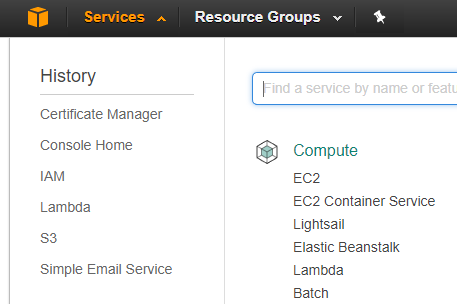
Go to the Simple Email Service in AWS services. From the SES Home page, the first section is Identity Management. The first menu option is Domains. Click the button to verify a New Domain. I followed the steps provided and because Route53 is my DNS provider, all required options were added to my DNS zone for me. Simple.
You’re in an SES sandbox at first and you don’t move out of it until you’re ready - the point being that you can test things work from here, but to avoid the possibility of abuse, you have to verify that you own an email address which will receive your tests. Nothing works without being set up first. This is under the Email Addresses menu.
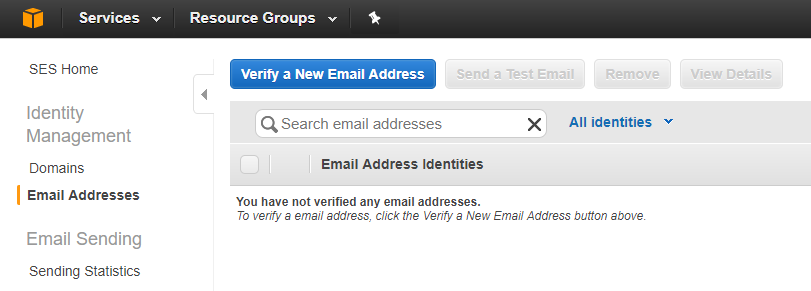
Add an email address and you’ll be sent a link to click to confirm you own the address. Again, this was pretty fast.
Once your email address is verified, go back to Domains and select the domain from which you want to send a test email. Send a test email with any title and content you wish to the email address you just verified, from any user at your domain that you choose.
The email came straight through to my phone as planned. Great, now I can send emails from SES.
I also created an SMTP user in SMTP settings. There’s simply a Create My SMTP Credentials button. Again, easy. As usual with AWS you will need to immediately download the credentials and never share them. You should not need to do this step unless you’re planning to use other AWS functions and services to send emails for you, but I figured that I would do it whilst I was here.
To receive emails, you need a place for them to go. Oddly enough, the destination is an S3 bucket. Fear not! That’s not gonna be the end of it as that would be pretty crap. You’ll need Lambda to do something clever with this afterwards, but first things first.
This time, I followed the Receiving email with Amazon SES guide from AWS. It is probably easiest to make a new bucket to be the destination for your mails and then use the Developer Guide to tell you what to do with it as you will need to allow SES to write into your bucket.
The point here is that a lot of the information you need is readily available from AWS. I’m no coder, as you might have guessed, but all of this was pretty straightforward. It probably helps that I have done some of the excellent AWS training offered by A Cloud Guru but the AWS docs are solid and none of this was rocket science.
I created a folder in my new bucket called emails. I’m not very imaginative.
Once that’s done, back to SES to set it to handle receiving emails, see Email Receiving at the bottom of the SES Home menu and click on Rule Sets. Again, big blue button, “Create a Receipt Rule”
You’ll want to set up at least one of the following addresses within SES:
- administrator@your_domain_name
- hostmaster@your_domain_name
- postmaster@your_domain_name
- webmaster@your_domain_name
- admin@your_domain_name
In my Rule, I set the receipt location to be emails/ - the folder I made in the bucket earlier. Once your rule is done, you can send an email to the address(es) you just set up for your domain and you’ll see it in your bucket. Good start.
Lambda
Now I want Lambda to send these emails to me on a mail address of my choosing. A bit of research led me to Arithmetric’s AWS Lambda SES Forwarder page on GitHub, which covers it quite nicely! This guides you through the trickiest part of the process, the Lambda function. I say that as if I were asked to write this from scratch, I’d be here all week, but via the magic of GitHub, it’s a few minutes work.
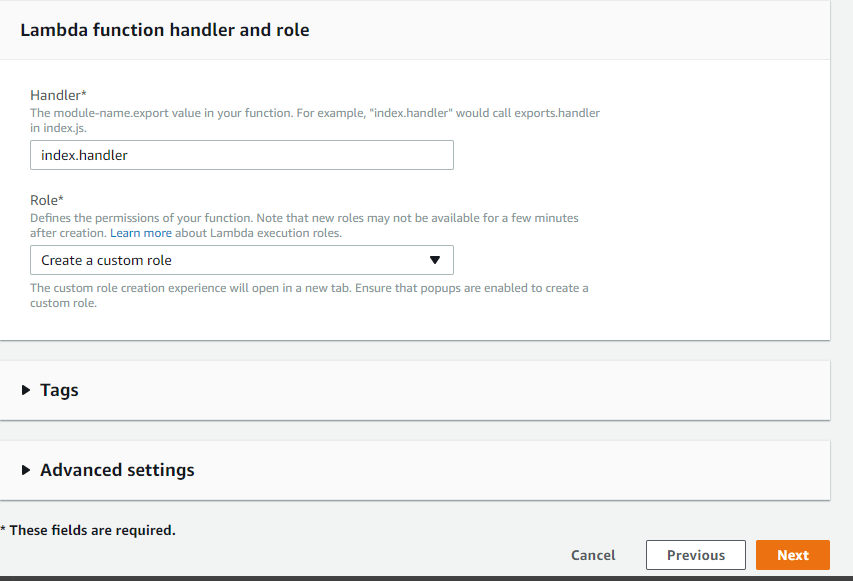
Trickiest part - in the Lambda setup, when you have to create a new IAM role, select Create a custom role.
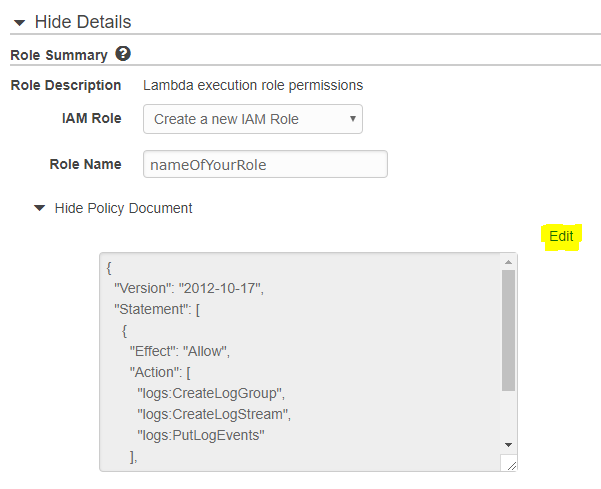
This will launch the IAM Manager window for you. Name your role, then click on the View Policy Document twisty to see the Policy you need to amend. There’s a little edit link to the right, click it and dismiss the warning about reading the documentation as the code you’ll be using works fine.
Any reference to “Basic Execution Role” means “AWS Lambda Basic Execution Role”. I think that clarifies the things that could trip people up.
Follow the rest of the guide about adding the Lambda functionality as the second step in your previously created SES Receipt Rule and you’re done! I was then able to email my domain account from an email account on my phone and get that mail forwarded back to that same account. Mission accomplished!
SSL Cert
Phew! all that work was a precursor to this step. I needed to have somewhere for AWS to email when I ask it to set up an SSL cert and only at least one the five email addresses I mentioned above will suffice.
So, off to AWS Certificate Manager to request a free SSL Certificate. Another easy step, but bear in mind that if you want to have the option to use both www. and the naked domain version for your site URL, then when you request the cert, use *.domainname.com instead of www.domainname.com and you’re good to go. Make sure you also add the naked domain.com, so you will need two entries, easy to do on AWS.
You’ll get an email asking you to verify that you requested this cert, click the link in the mail and within a few seconds, you should see that your cert request has been validated and your cert status is Issued.