vExpert Homelab 3 - Installing vCenter 6 as a PSC
So at last, vSphere 6 release day. Let’s crack on with this new PSC stuff! vSphere 6.0 splits vCenters into a Platform Services Controller piece (SSO, licensing, Certificates - all the bits that really tie your setup together) and the vCenter installation itself. These can be on the same server (VM, right?) or different servers, creating stand-alone PSC’s which can be load balanced and so on.
The vCenter Deployment Guide has been available for a few days already and that is really a step by step guide through the installations that you can do.
http://blogs.vmware.com/vsphere/2015/03/vcenter-server-6-0-deployment-guide.html
https://www.vmware.com/resources/techresources/10453
What it is not though, is a design guide. Not a lot of mention of how you would use some of these different configurations. To my mind at least, the PSC’s are designed to be the single internal VMware administrative layer. From there you can set up and delegate out other access, so different vCenters with different roles maybe (VDI, production, dev/test) can all plug in to the PSC layer. Other VMware products will also plug in to this. vRealize Automation, NSX etc. It’s mention of NSX which really makes me think that you should have a single PSC layer as these things will reach out over your entire enterprise.
Setup
Being as an upgrade from a previous version of vSphere to the new version will mean an integrated PSC installation (that you cannot go back from) then I decided that a parallel installation of the new version would teach me the most. I downloaded the media and mounted the file VMware-VCSA-all-6.0.0-2562643.iso. Browsing the contents presents you with an html file in the root directory called vcsa-setup.html and that presented me with this;

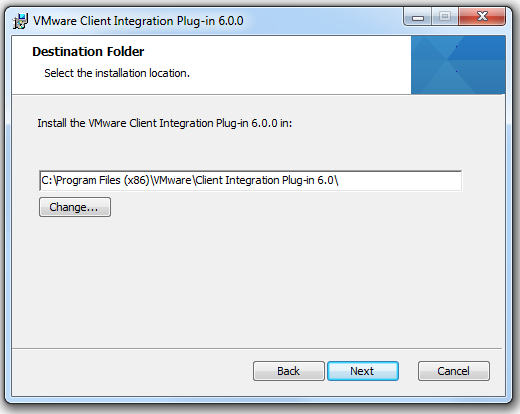
So not much I can do here other than close the browser and run the file
VMware-ClientIntegrationPlugin-6.0.0.exe from the vcsa folder. Very little to do here other than change the installation directory if you want. The default is the standard VMware folder.
Then you can open the html file again. This time, after waiting a whole 4 seconds, I got this…
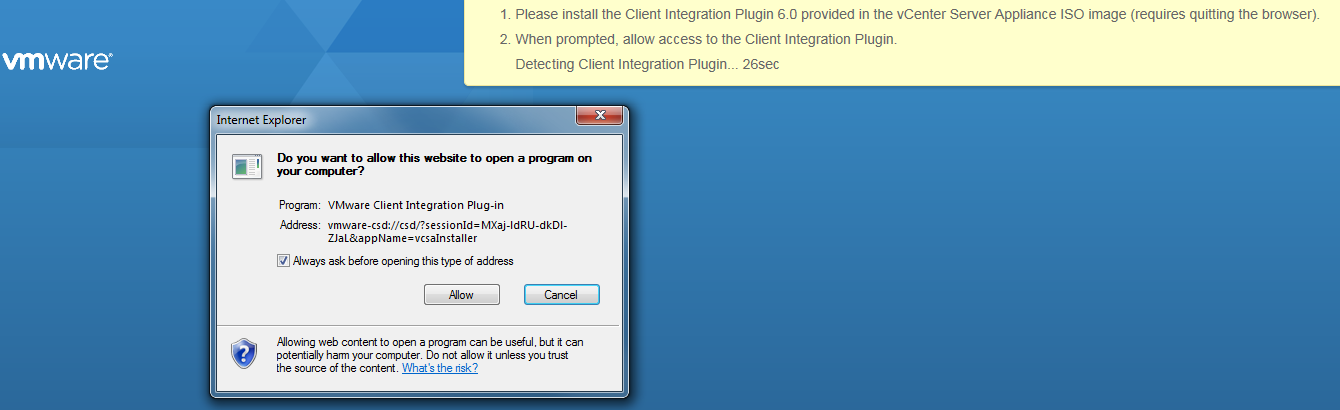
Then after clicking allow, at last!
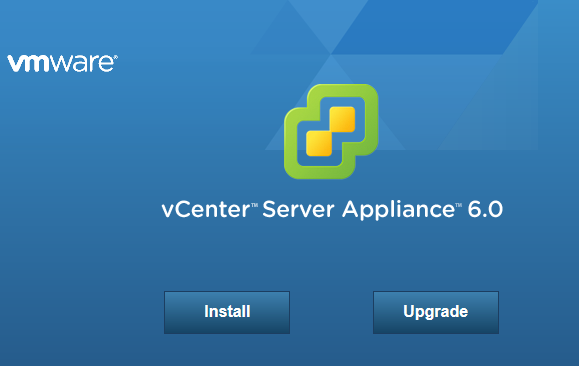
At this point I chose Install, as I said above, I wanted this to be a completely new installation. Then I accepted the EULA as the first of 11 installation config screens.
Then you will need to select an existing ESXi host to use as the installation target and supply root level credentials;
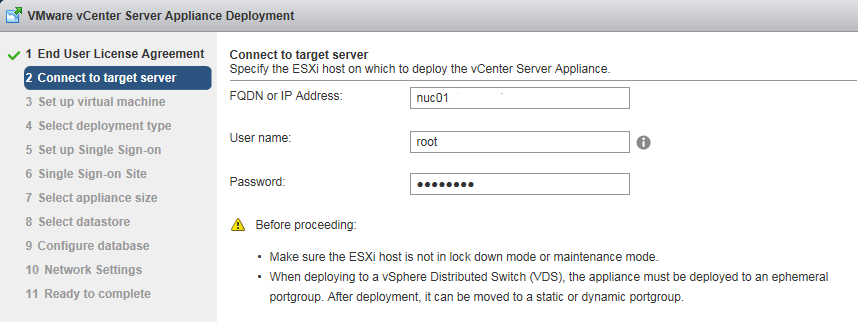
There’s an immediate validation after this step and you’ll also get asked to verify a new SSL cert (don’t worry, SSL will get easier in 6.0!) Then you need to pick an appliance name and select a password. I’m installing this one as a standalone PSC so I used an imaginative name. You need a suitably complex password, (I ended up using upper case, lower case, numeric and special characters and the picture below shows the warnings you could get.
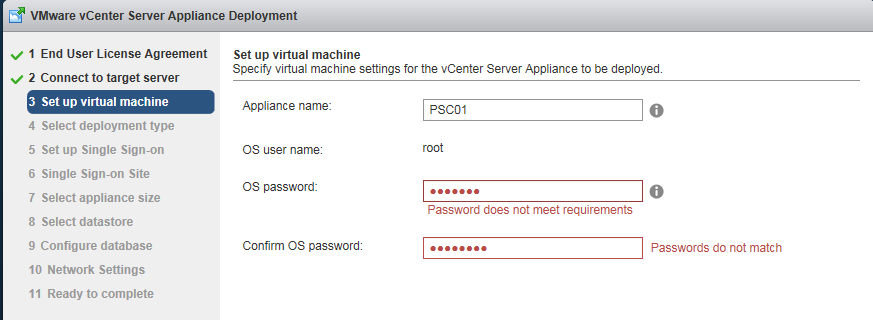
The default password settings for the administrator account will be visible once you are installed, but are set out here;
8-20 Characters in length.
A minimum of 1 Special character, 1 numeric character, 1 uppercase and 1 lowercase character.
Now, those choices.
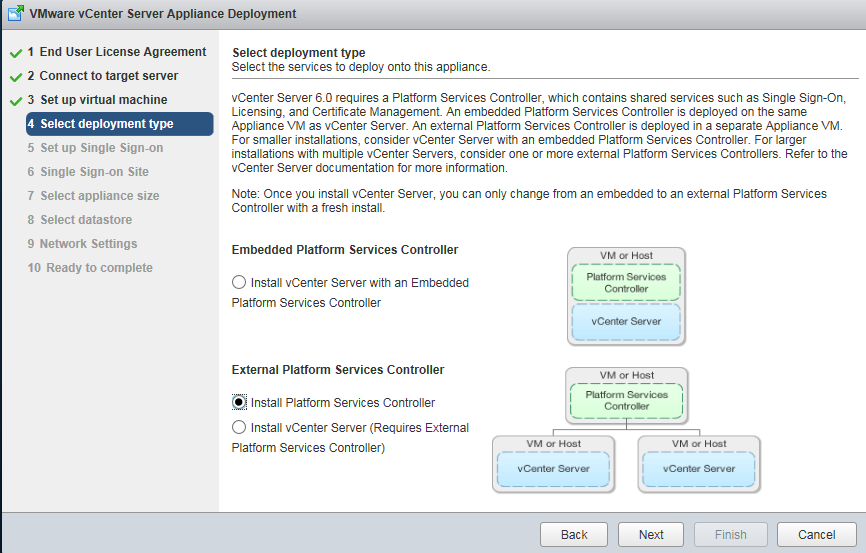
The default choice is the top one, embedded PSC, but for additional complexity, let’s have an External PSC. There’s no database to configure at this point, so my 11 steps are now 10.
Because this is a brand new setup, Creating a new SSO domain is next.
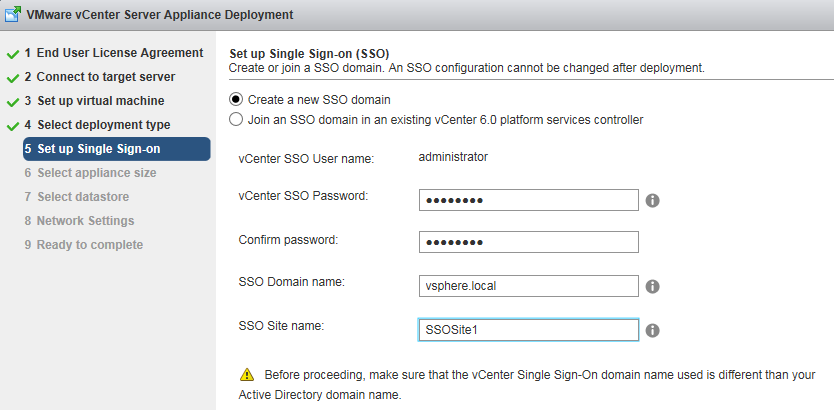
Very imaginative names in use there. But as this is a new setup, no SSO site selection option step remains, this is getting easier and easier. On to step 7 out of 9.
This is hardly a step either, it’s just a confirmation.
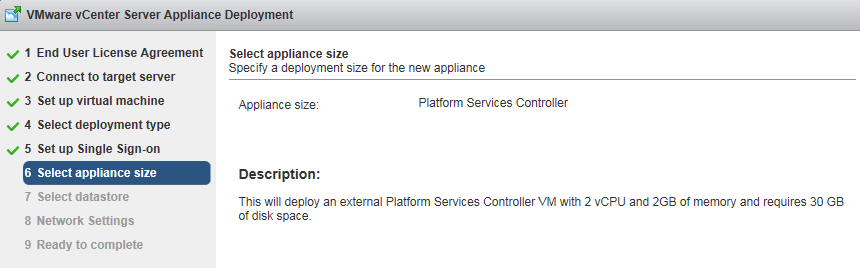
Next is disk space selection. I don’t think I will be doing a whole lot with my PSC’s so let’s go this on the disk as well.
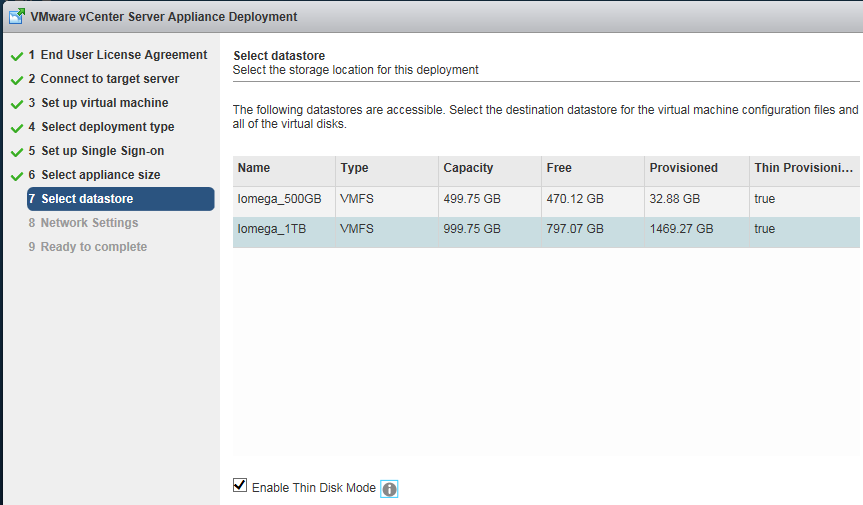
There’s another validation step here whilst the installation verifies the disk space.
Then on to something meaty, the network settings tab! A lot to fill in here in comparison to the other screens so far.
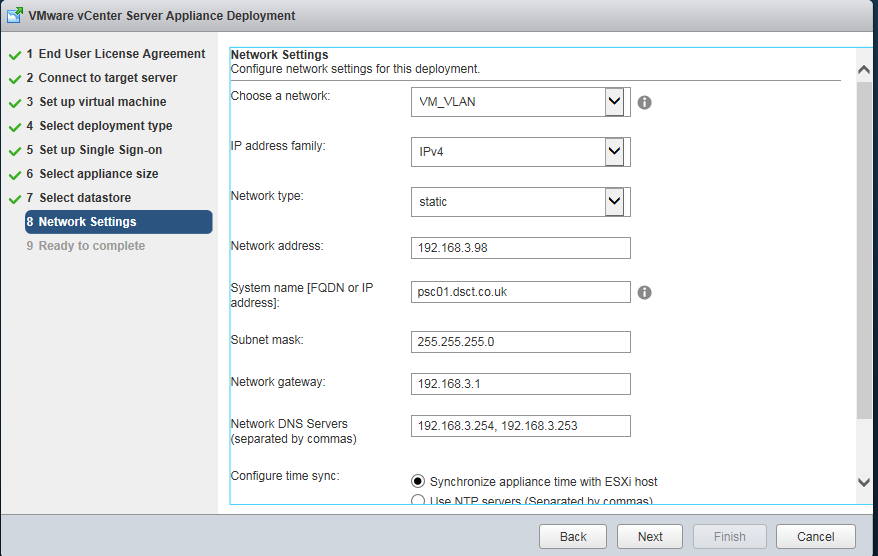
There’s more below what’s shown as well, but it’s only a tick box to give you the option to enable SSH. Like all such VMware installations, bitter experience states that you should ensure that you have working DNS beforehand, so make sure that you have already added your static IP details to your DNS before you go any further.
Then the last screen is just a summary tab, click Finish and away we go.
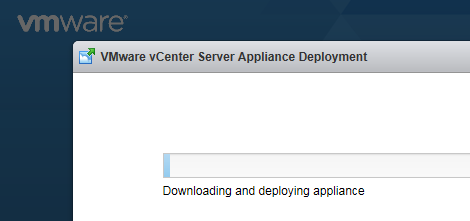
Now this takes a while, but once you’re done you should see something like this…
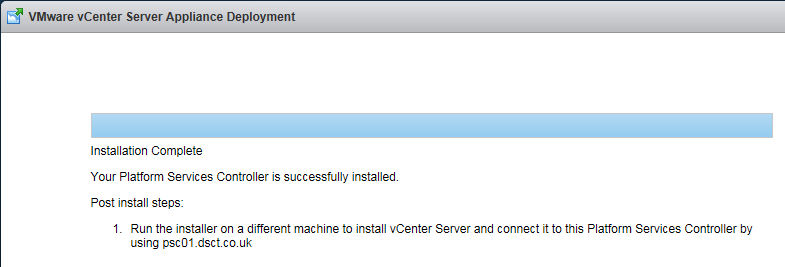
Woohoo! We have a running PSC. Just look at all those lovely hard disks…
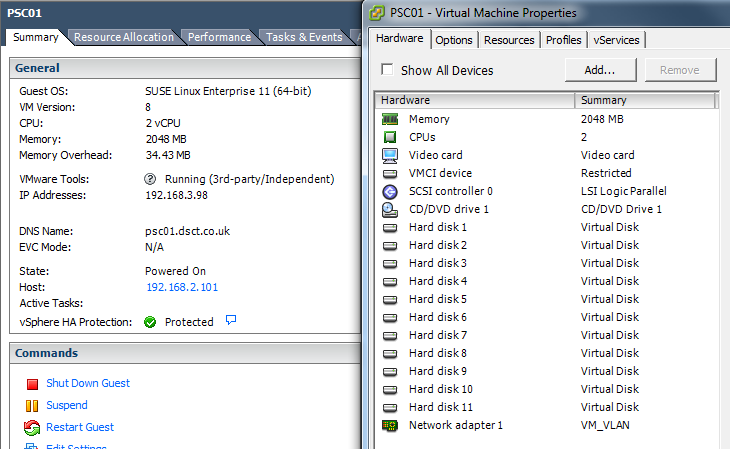
And that’s it, next job will be to point a vCenter at this thing.